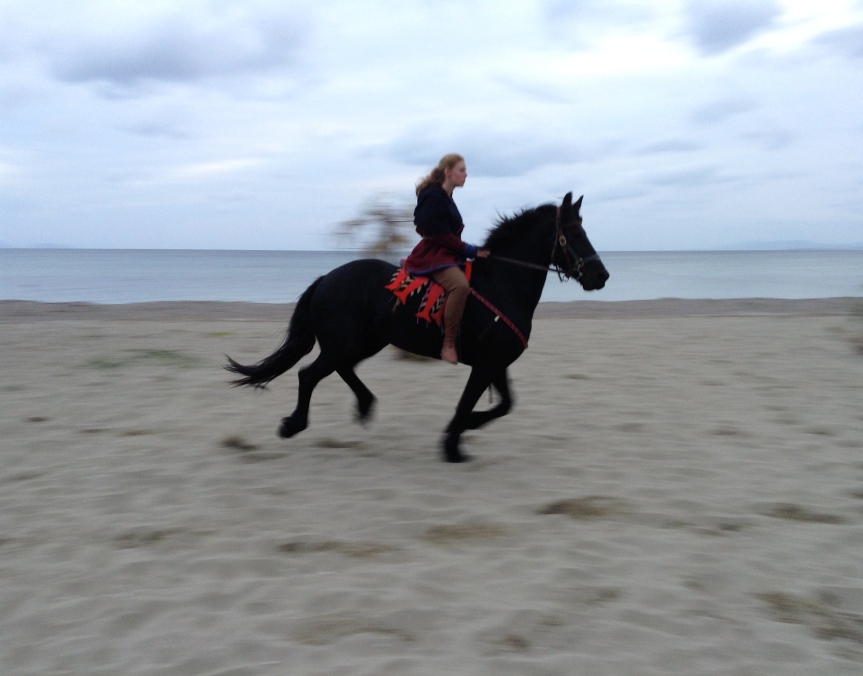
I tend to agonise over decisions. It is rare for me that a piece of kit goes from the planning stage to finished product in the space of two days. Rare and rather exciting. But on this occasion I was working to a deadline. This weekend I will be at Carlisle Castle dressed as a Jacobite, and while I have been putting together eighteenth century kit for some time there are still a few pieces missing. So last Friday I decided to make a manteau de lit, or bedgown.
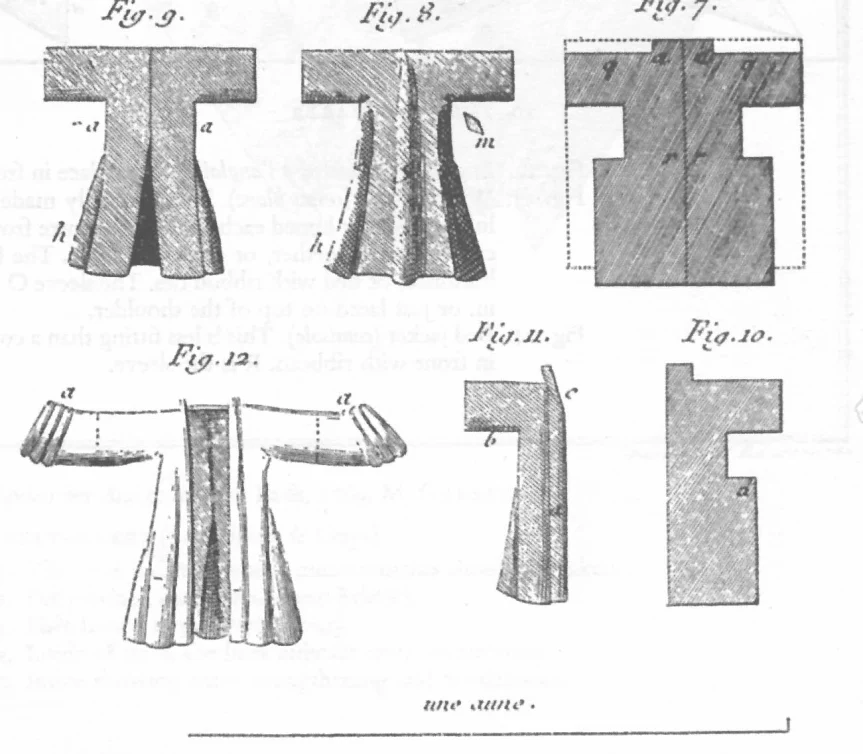
A quick trip to Leeds market yielded some nice material, and a quick internet search led me to a simple pattern published in 1769 by F.A. Garsault, in his Description des Arts et Metier.
Now I know that 1769 is a little after the dateline for the event I’m going to this weekend, but the bedgown was a common item of clothing for women of all classes through most of the eighteenth century. It can be made from wool or linen depending on how warm you want it to be. I opted for wool with a linen lining. Wealthy ladies might wear a bedgown made of silk after getting out of bed in the morning and before appearing in public. For working women the bedgown was often worn all day over jumps or stays, frequently with an apron over the top. It was a practical and comfortable garment, well suited to carrying out manual work.
You will need at least 2 metres of material each for the outer and the lining. You may want more depending on your height or if you want a slightly longer garment. The length can be anywhere from below the knee to mid thigh. My general rule of thumb for sewing reenactment clothing is that inside seams may be done by machine if necessary, while any visible stitching such as hemming must be done by hand.
I should also note that I left out the back pleat and the sleeve gathering shown in Garsault’s drawing. There are examples of bedgowns with and without these features and time was somewhat limited. Other examples omit the side pleats and are instead cut with a sloping side.
Process
- Fold your material in half across the width and trace the pattern to a suitable size. Cut out the pattern and use it to trace the same shape onto your lining material. Cut out the lining.
- Cut along the fold line which joins front to back at the collar, then cut the front of both outer and lining in half from top to bottom along the line shown.
- Round out the front of the collar by cutting away the front corners.
- Sew the front to the back along the side of the collar, top and bottom of the sleeve, down the side, and down the side of the skirt. Leave the short section labled a in Fig. 10 unsewn. Repeat for the lining. Press your seams flat with a hot iron.
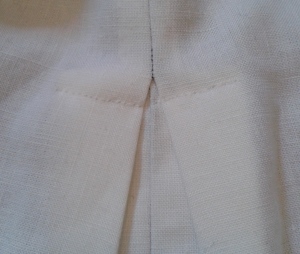
- The most time-consuming bit is pleating the sides. You will need to iron in the pleats before you sew them. I opened out the unsewn seam to lie flat against the side of the jacket, and then folded each side of my pleat back in to the centre along the side seam to make a sort of double pleat. Once you have ironed your pleats, sew them in. Repeat for the lining.
- Making sure to place good side to good side, sew the outer to the lining along the bottom of the jacket and then up each side of the centre opening. Leave an opening along the back of the collar to turn your garment the right way out.
- Once the jacket is the right way out and the sleeves of the lining have been fitted into the sleeves of the outer, close up the opening in the collar by hand. Then sew outer to lining along the sleeve cuffs, also by hand.
- Press all your seams flat. A ribbon tie can be added as a closure, or the bedgown can be closed using pins. Generally the bedgown was worn with the sides overlapping, so I have opted for the latter. The sleeves should be short enough to work in, and can be rolled up to below the elbow.
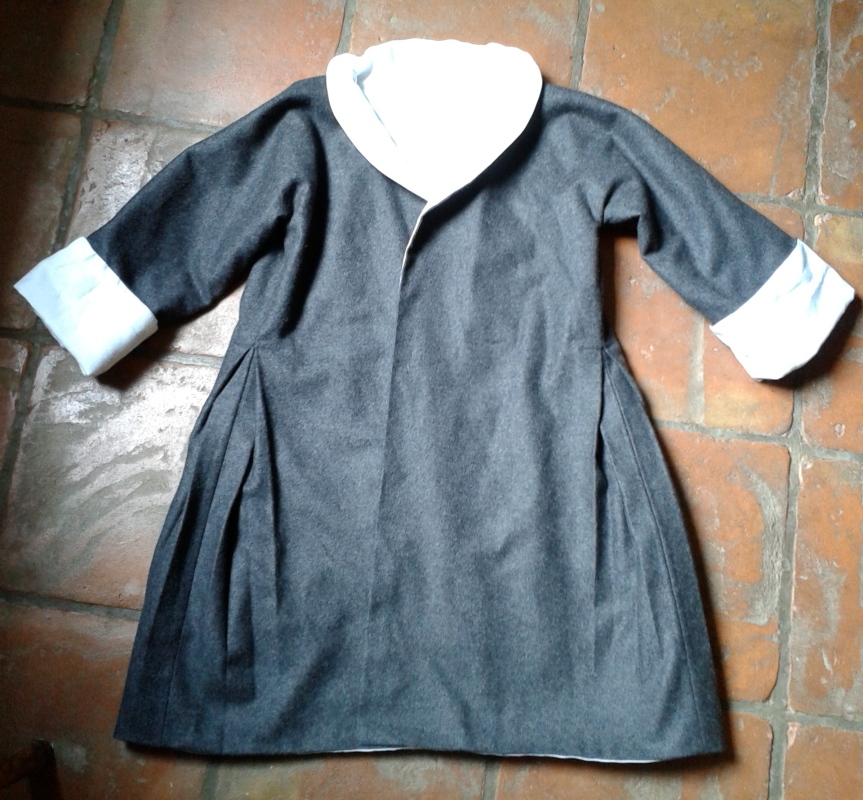
The finished bedgown. Overall I am happy with how it turned out. It is certainly comfortable to wear, and to have a project finished in two evenings of work is always satisfying. If I were to make another, I would leave myself more material for the collar. The collar on this one wound up very small and hard to turn over. That said, I would definitely recommend this pattern to anyone planning a manteau de lit of their own. It is easy to follow, easy to adapt, and I am pleased with the result.